
A sturdy fence is essential for property boundaries and security. Over time, wooden fence posts can rot, decay, or become damaged, compromising the integrity of your fence. Replacing a wooden fence post is a DIY project that can be tackled with the right tools and knowledge. This guide will walk you through the process step-by-step.

Tools and Materials:
- Post hole digger
- Shovel
- Saw
- Level
- Hammer
- Concrete mix
- Gravel
- Wooden fence post (treated for outdoor use)
- Safety goggles
- Gloves
Step-by-Step Guide:
- Assess the Damage: Carefully inspect the fence post to determine the extent of the damage. If the post is significantly rotted or leaning, it’s time for a replacement.
- Remove the Old Post:
- Detach the fence panels from the damaged post.
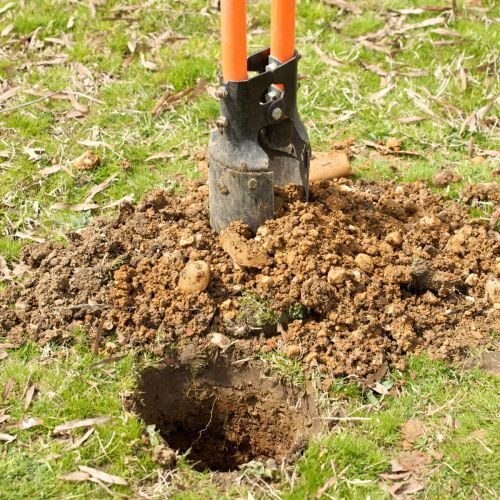
- Use a post hole digger to excavate the soil around the base of the post.
- Carefully remove the old post, including any concrete or debris.
- Prepare the Hole:
- Dig a new hole slightly wider and deeper than the old one.
- Add a layer of gravel to the bottom for drainage.
- Install the New Post:
- Position the new fence post in the hole, ensuring it’s plumb (vertical) using a level.
- Add concrete to the hole, filling it about halfway.
- Tamp the concrete to remove air bubbles.
- Continue adding concrete until the post is securely in place and the concrete is slightly above ground level.
- Shape the concrete around the post to allow water to drain away.
- Reattach Fence Panels:
- Once the concrete has cured, reattach the fence panels to the new post.
- Ensure the panels are securely fastened and aligned properly.

Tips:
- Consider using a pressure-treated wooden fence post for increased durability.
- Wear safety goggles and gloves to protect yourself from debris and chemicals.
- For added stability, consider using metal fence post brackets.
- If replacing multiple posts, ensure they are evenly spaced for a consistent fence line.
Conclusion
Replacing a wooden fence post is a straightforward project that can enhance the appearance and longevity of your fence. By following these steps and taking the necessary precautions, you can successfully complete this task and enjoy a sturdy, attractive fence.
Discover more from CheaperFence
Subscribe to get the latest posts sent to your email.

