


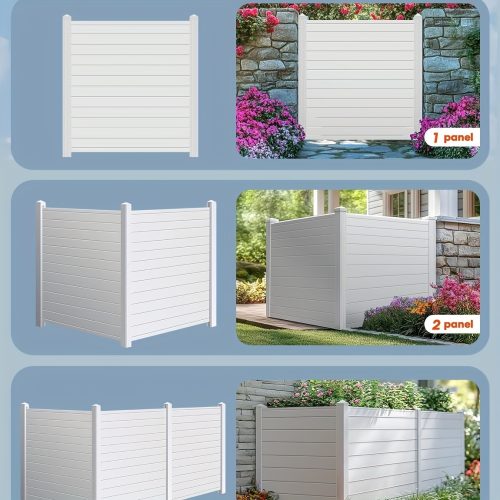

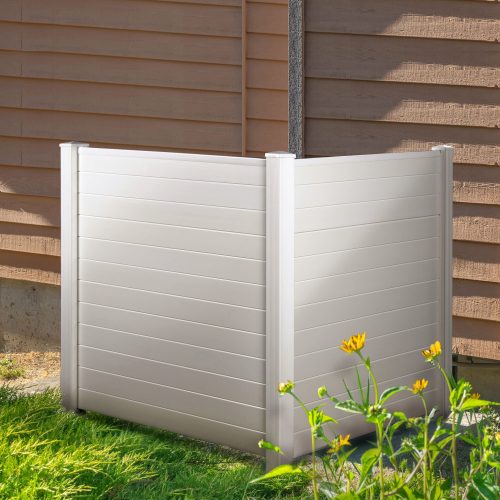


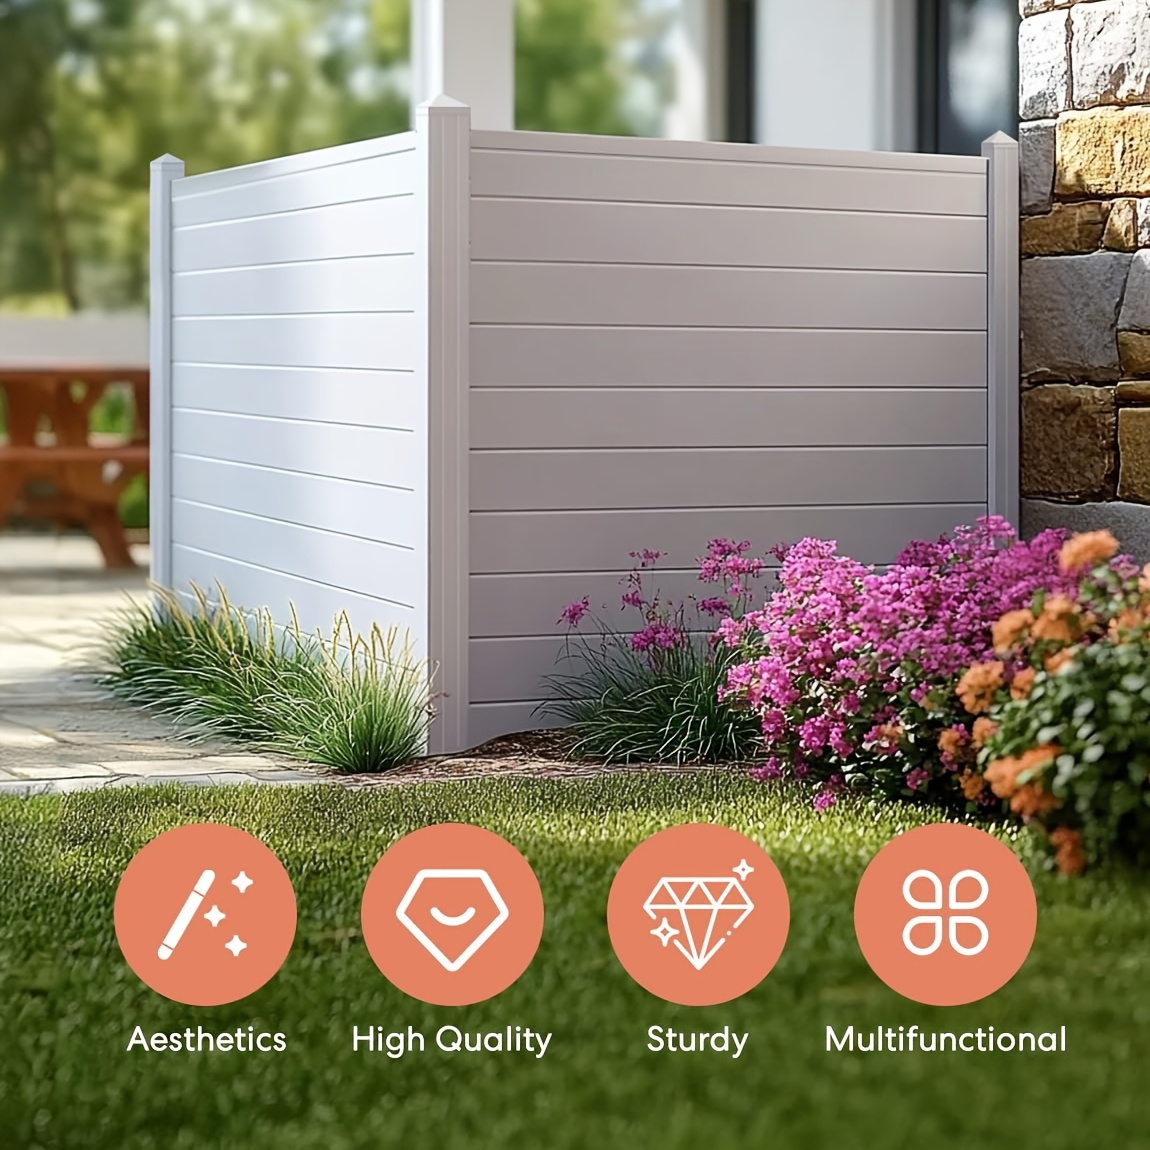
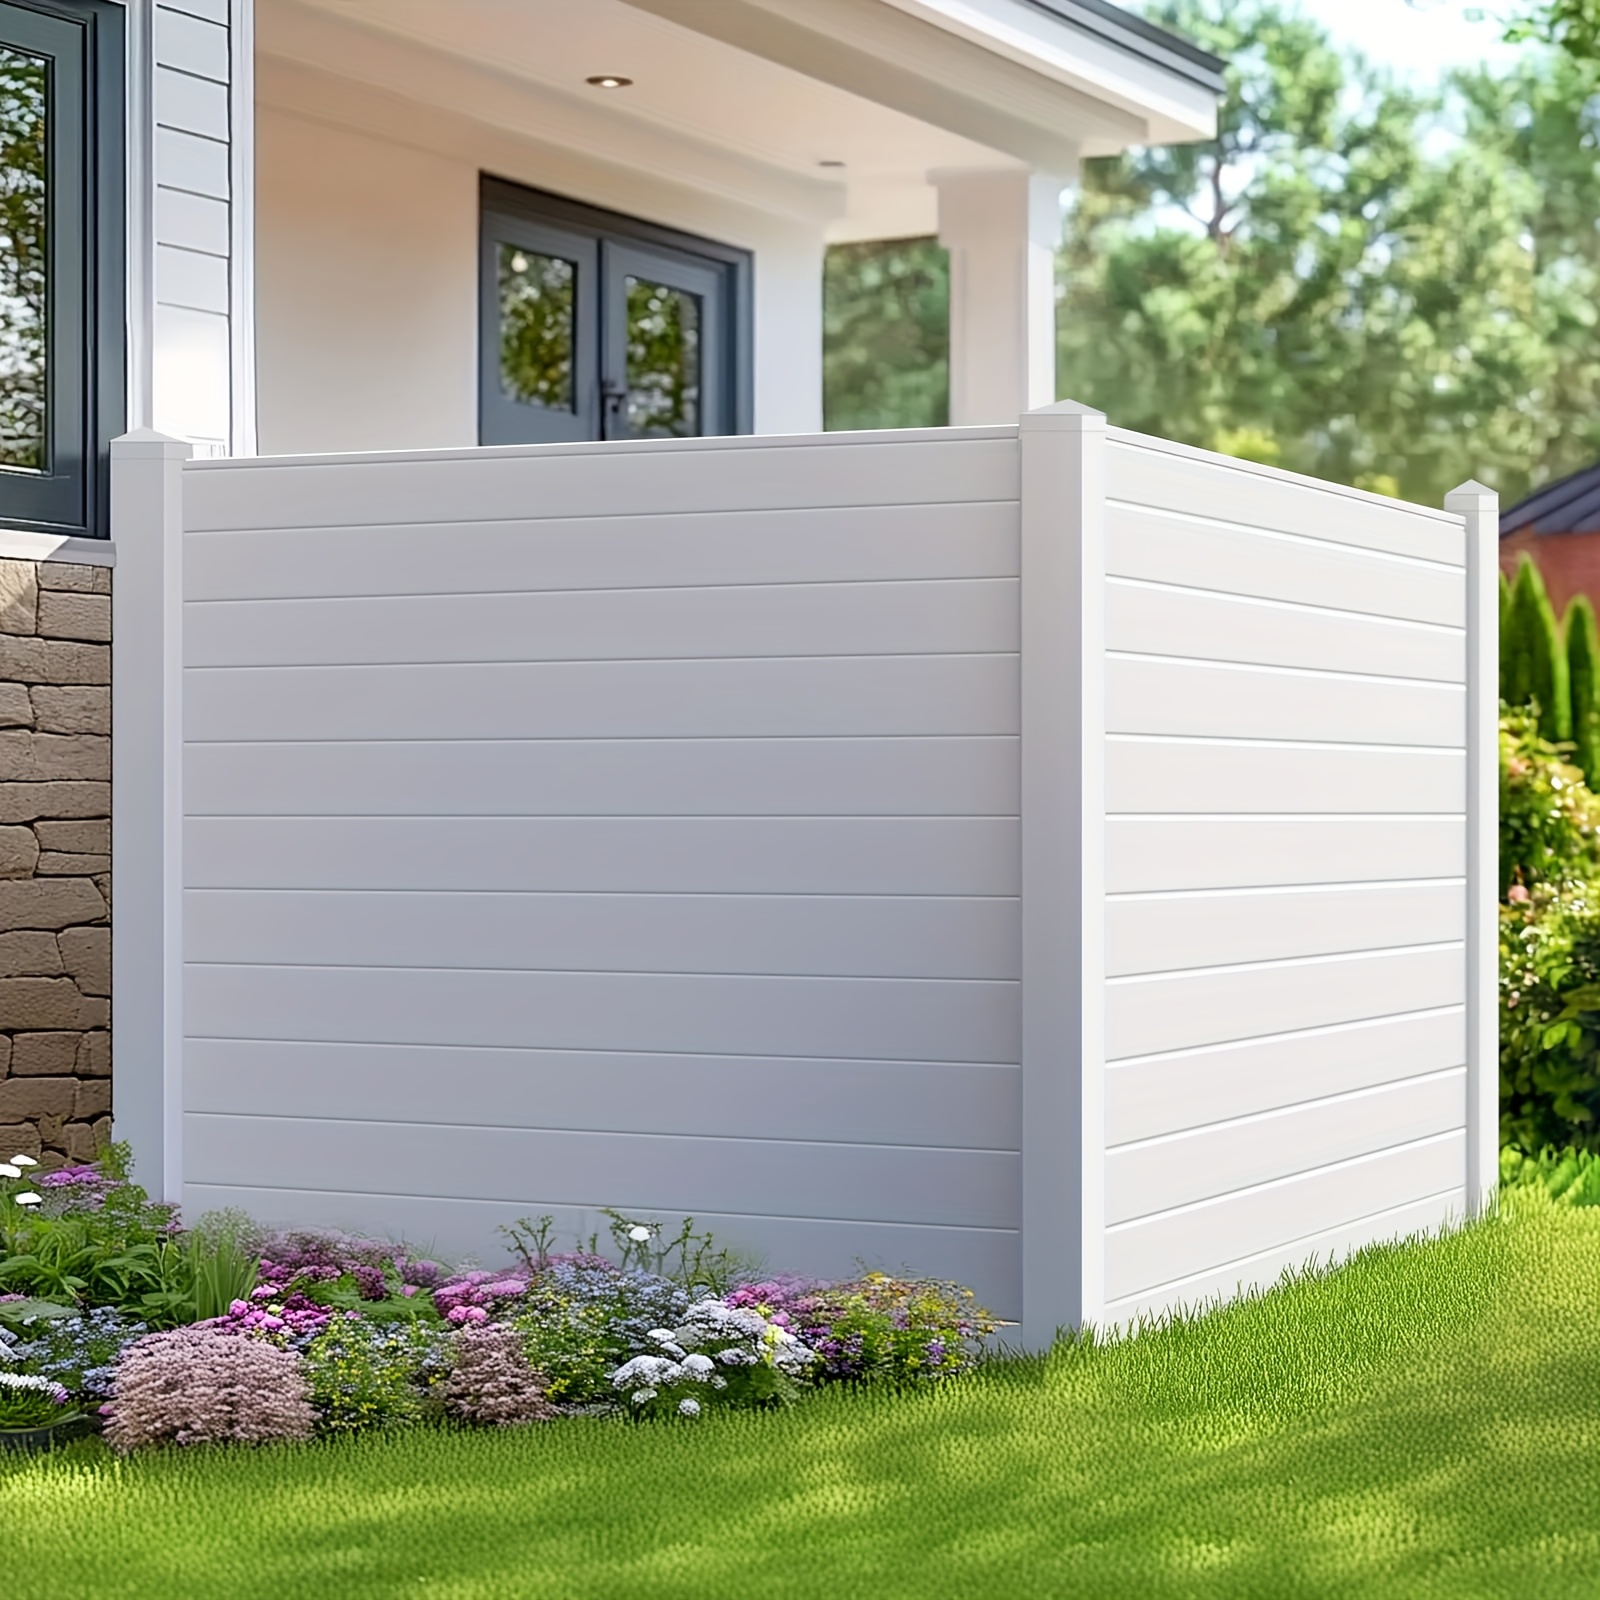
50″ L x 50″ H Vinyl Privacy Fence Panel, Trash Can Enclosure Fence
Color: White
Size: 1 piece 50″ L x 50″ H fence panel
Does It Block Light?: Yes
Material: Vinyl
Shading Rate: 91-100%


Construction Steps:
1. Prepare the Area
- Mark the desired location for your fence panel installation.
- Measure and mark where each vinyl post will be placed, ensuring they are spaced evenly.
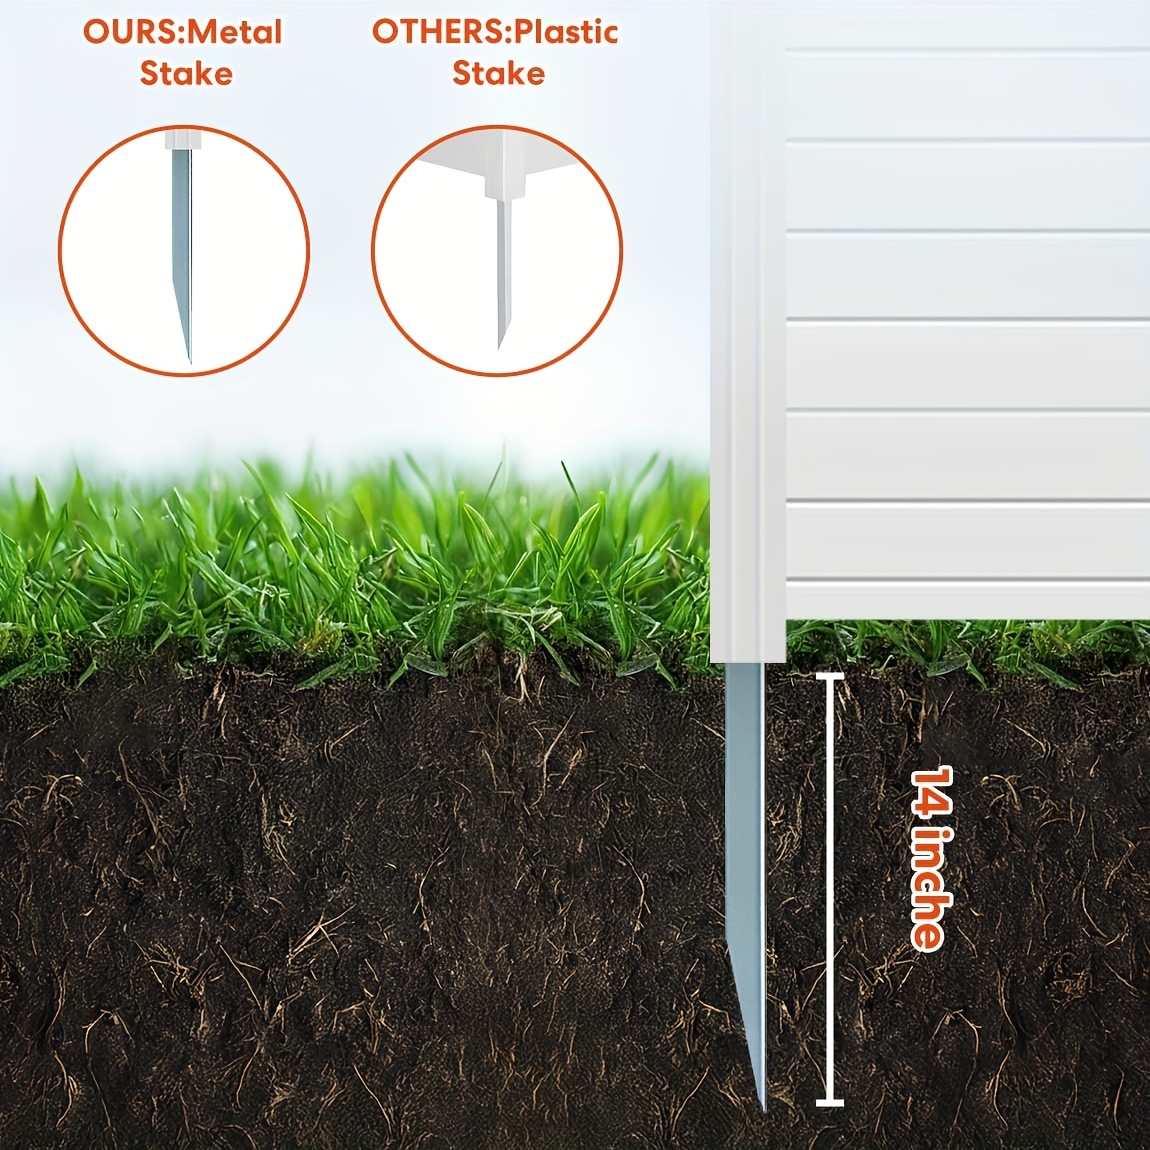
2. Set the Posts
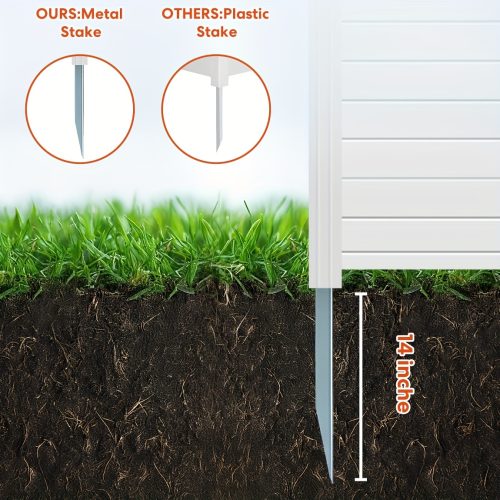
- Dig holes for the fence posts. The depth of the holes should be at least 1/3 of the post length, typically around 2 feet deep for a 6-foot fence.
- Place the vinyl posts into the holes and make sure they are positioned straight and level. Use a level to ensure the posts are upright.
- Fill the holes with concrete (if required) to secure the posts in place. Let the concrete cure according to the manufacturer’s instructions (usually 24-48 hours).
3. Prepare the Fence Panel
- Unbox and lay out the vinyl privacy fence panel to make sure all pieces are accounted for.
- If necessary, cut the panel to fit your space (this step is optional depending on the size of your space and the pre-fabricated panels).
4. Install the Rails onto the Posts
- Vinyl fence panels typically have top and bottom rails that need to be attached to the posts.
- Attach the top and bottom vinyl rails to the posts using vinyl brackets or fasteners. This step will secure the horizontal framing for the fence panel.
- Make sure the rails are level and properly aligned before securing them.
5. Insert the Fence Panel into the Rails
- Slide the vinyl fence panel into the grooves of the top and bottom rails. Most vinyl panels are designed to easily slide into place.
- Align the panel to ensure the top and bottom edges are even with the rails. Make sure it fits snugly without forcing it.
6. Secure the Panel
- Once the panel is in place, secure it with screws or fasteners designed for vinyl fencing. These fasteners will hold the panel in the rails and prevent it from moving.
- If the panel has pre-cut slots for fasteners, align the holes and insert the screws to secure the panel tightly into place.
7. Attach the Post Caps (Optional)
- If your vinyl posts include post caps, place them on top of the posts once the panel is securely in place. Post caps help protect the posts from water and provide a finished look.
8. Check Alignment and Level
- After the panel is installed, check the alignment and level of both the panel and the posts. Adjust if necessary, making sure the panel is plumb and straight.
- Re-tighten screws or fasteners if needed.
9. Repeat for Additional Panels
- If you are building a continuous vinyl privacy fence, repeat steps 4 to 8 for each additional panel, ensuring proper alignment and secure attachment.
10. Final Inspection
- Double-check the entire fence panel installation for stability and proper alignment.
- Ensure all posts are securely anchored and all screws or fasteners are tightly installed.
- Make any final adjustments to improve the appearance or stability of the fence.
Discover more from Cheaper Fence
Subscribe to get the latest posts sent to your email.

Reviews
There are no reviews yet.