

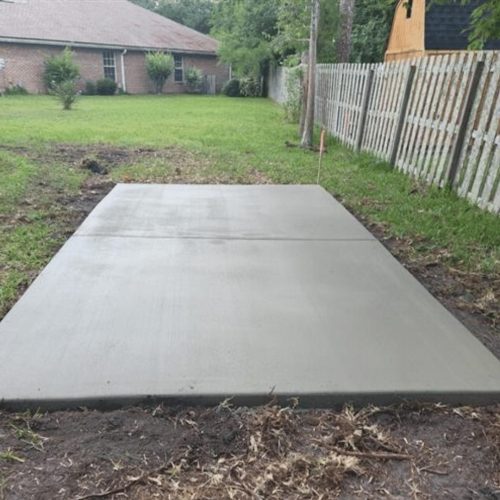
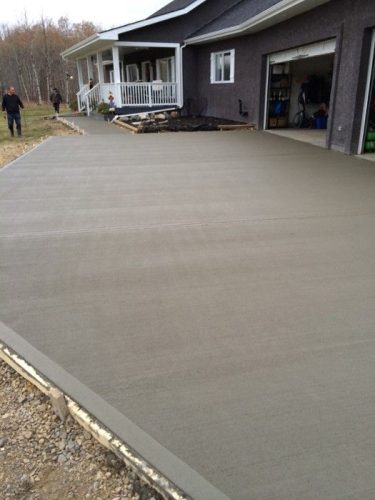
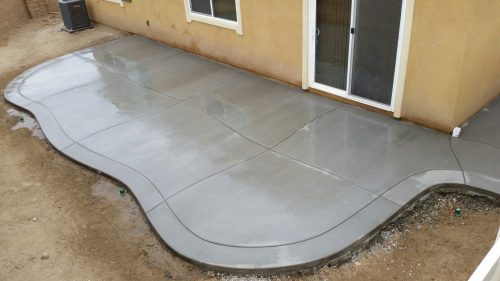
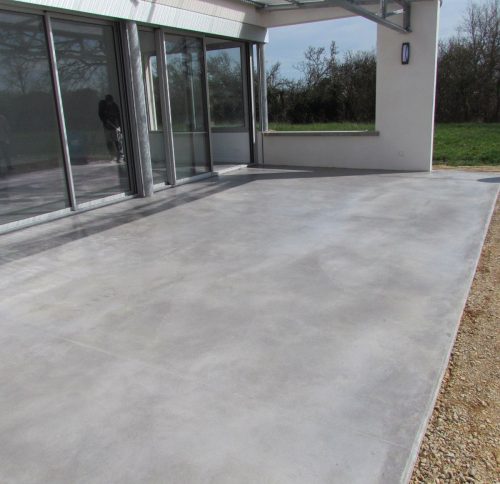

I. Introduction
- Brief overview of the project.
II. Step 1: Planning
- Determine the size and thickness of your slab.
- Check the soil and area for drainage.
III. Step 2: Site Preparation
- Clear the area of debris and vegetation.
- Dig the area to the desired depth.
- Add and compact a gravel base for stability.
IV. Step 3: Setting the Forms
- Build and secure forms around the slab area using wood or metal.
- Make sure forms are level and square.
V. Step 4: Reinforcement
- Lay rebar or wire mesh in the forms for strength.
- Elevate the reinforcement off the ground.
VI. Step 5: Mixing the Concrete
- Use ready-mix concrete or mix your own.
- Ensure the right consistency—thick but workable.
VII. Step 6: Pouring the Concrete
- Pour concrete into the forms, starting from one corner.
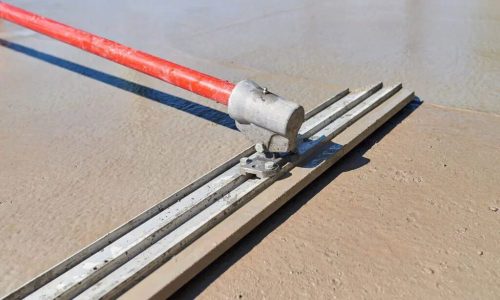
- Level the surface using a screed board.
VIII. Step 7: Finishing
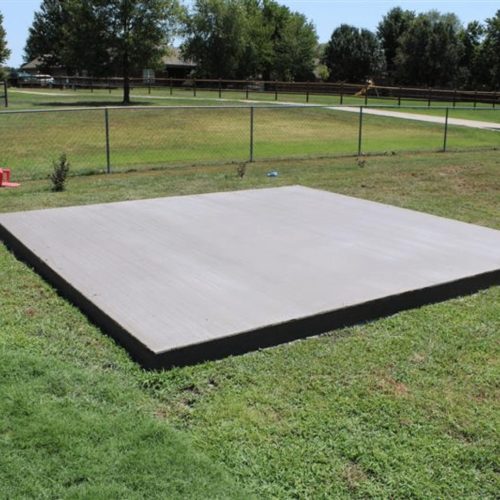
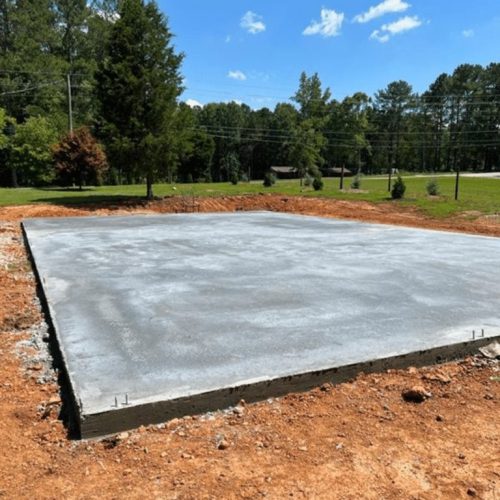
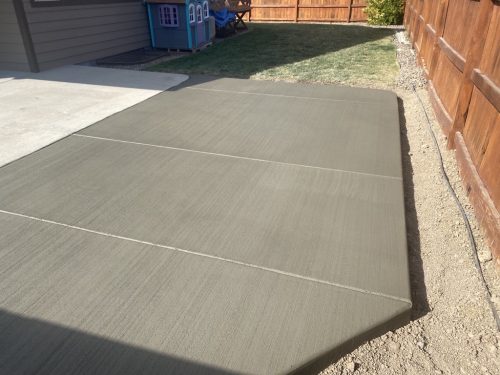
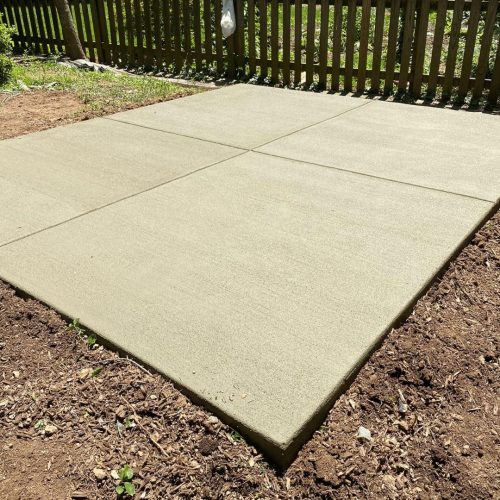
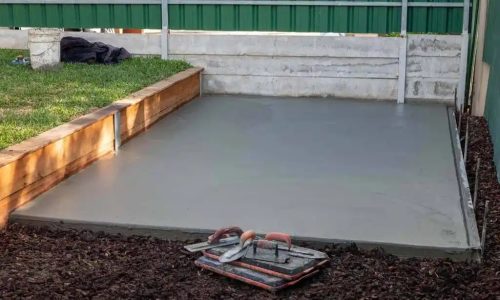
- Smooth the surface with a trowel.
- Optionally, texture the surface for slip resistance.
IX. Step 8: Curing the Concrete
- Cover the slab with plastic to retain moisture.
- Keep the slab moist for 7 days to help it cure.
X. Step 9: Removing the Forms
- Wait 24-48 hours before removing the forms.
Discover more from Cheaper Fence
Subscribe to get the latest posts sent to your email.


Reviews
There are no reviews yet.